3. Disassembling the Wii
Written By: noah
- Difficulty
- Moderate
- Estimated Completion Time
- 35 minutes
- Steps
- 12
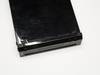
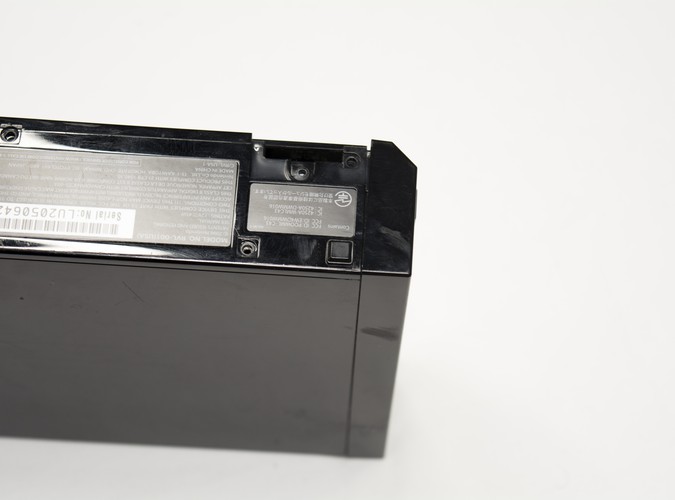
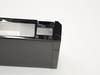
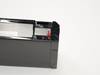
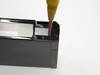
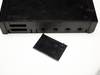
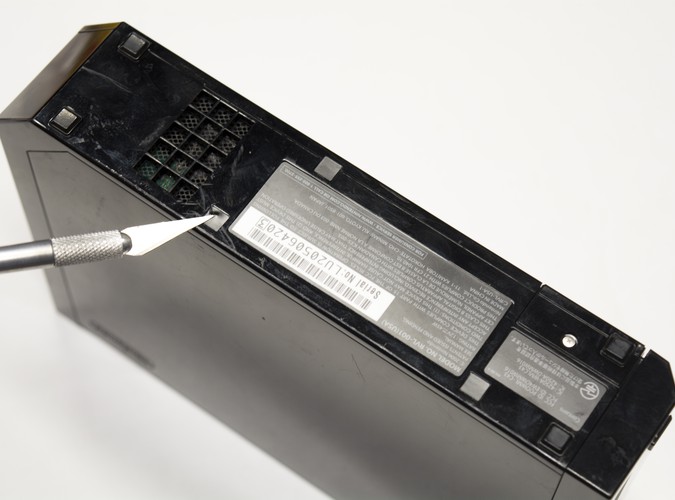
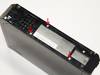
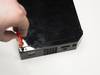
Step 1 Removing the Battery Tray
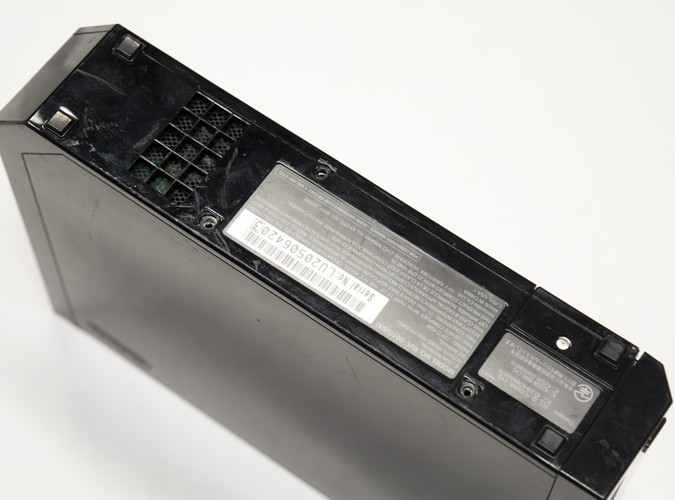
The battery tray on the Wii houses the 3V coin cell used for the RTC function in the Wii. However, there is also a screw we need to remove hidden underneath of it.
- Unscrew the battery tray as shown and slide it out from the Wii.
- If you plan on relocating the MX chip later on, keep the battery. Check it with a multimeter to make sure it's still good.
- Remove the screw shown
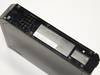
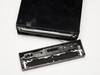
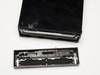
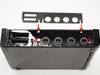
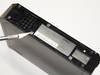
Step 2 Unscrewing the Faceplate
The faceplate is held on by 3 screws. In this step, we'll be removing 2 of them.
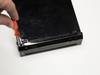
- On the bottom of your Wii console when laying down, there are two small adhesive paper coverings hiding two triwing screws.
- Remove the paper with a craft knife
- Unscrew both screws
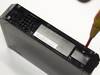
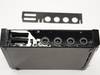
Step 3 Removing the Faceplate
We can now remove the last screw holding the faceplate to the Wii and remove it entirely.
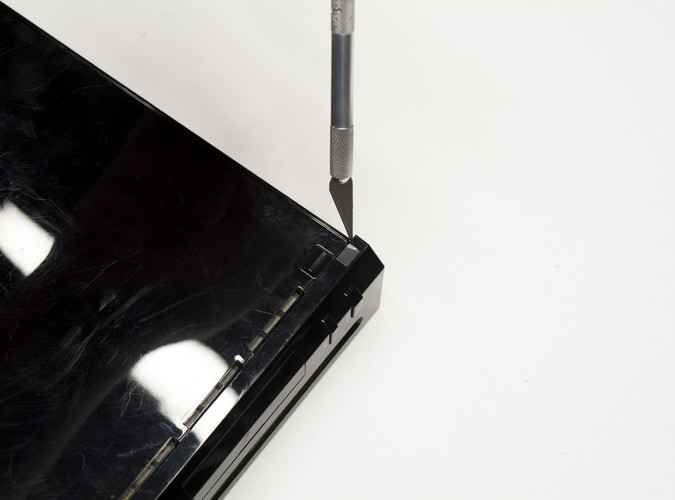
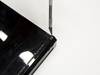
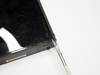
- The last screw is hidden under the foot shown. Remove it with a craft knife.
- Remove the screw hidden underneath as shown.
- A small cable for the disc drive light is all that's holding the faceplate to the Wii. Remove the cable and the faceplate will be free. Set it aside as it's no longer needed.
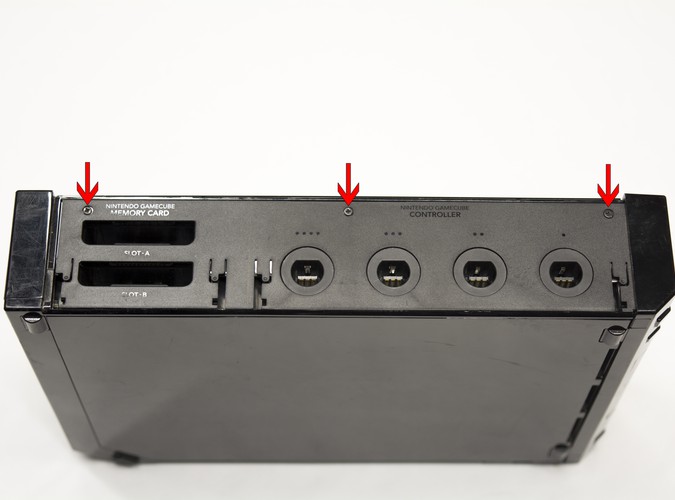
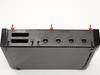
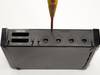
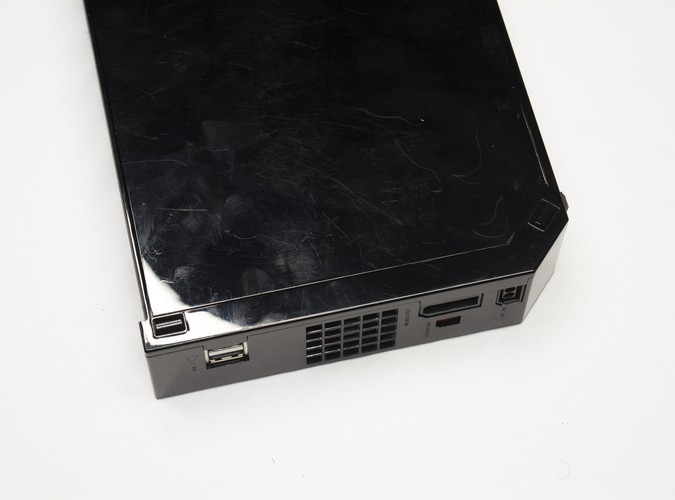
Step 4 Removing the Controller/Memory Card Doors
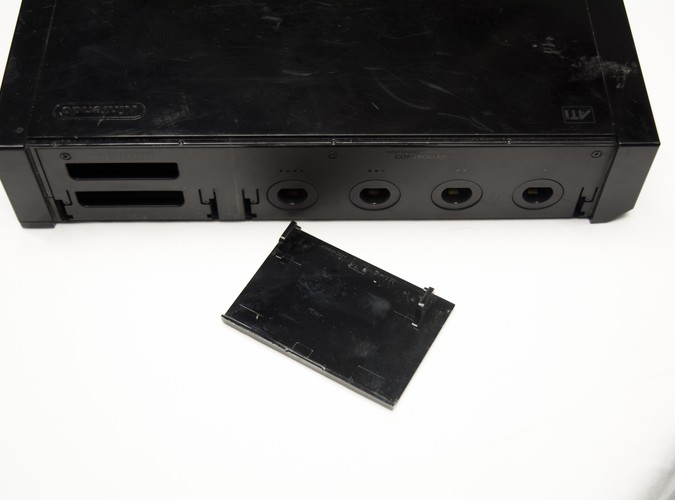
Remove the GC Memory Card and Controller doors from the top of the Wii.
The doors pull out with a little force.
If you have a Wii without GameCube controller ports, there will be small squares on the top of your Wii that can be removed with a craft knife. Remove the screws found underneath.
Step 5 Removing the Top Screws
- Remove the three screws shown from the controller plate.
- Once the screws are removed, the plastic controller plate will pull up from the console.
- Underneath, there are 4 more screws to remove - 2 triwing and 2 phillips. Remove all 4.
Step 6 Removing the Bottom Screws
On the bottom of the Wii there are adhesive papers covering the screws just as there were on the faceplate.
- Remove the adhesive paper covering the screws as shown
- Remove the following screws
Step 7 Opening the Wii
There are only 2 more screws to remove before we can open the Wii.
- Remove the feet shown from the Wii with a craft knife or small flat head screw driver.
- Remove the two triwing screws from inside the screw holes as shown.
- The larger top casing can now lift off from the Wii.
- You should now be looking at the inside of the Wii!
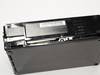
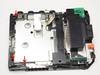
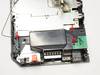
Step 8 Removing the Optical Drive
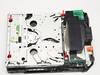
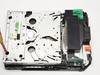
The optical drive will not be used with the trimmed OMGWTF motherboard. Therefore, we need to remove it from the Wii.
- The shielding present upon opening the Wii just lifts off. There is nothing holding it down.
- Remove the 4 screws shown that are holding the optical drive in place.
- The disc drive will be attached by two different cables.
- Lift up on the FFC connector to remove the flat cable.
- Pull the connector out to remove the white set of cables.
- Set the optical drive aside.
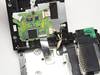
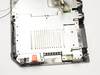
Step 9 Removing the Front Shielding and Brackets
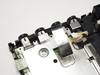
- Remove the following screws from the black plastic bracket at the front of the Wii and remove the bracket.
- After, remove the following screws and shielding as shown.
Step 10 Removing the Fan


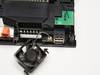
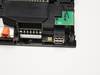
The Wii's fan is held in place by 2 screws and receives power via the small cable it connects to the motherboard with.
- Remove the screws as shown from the fan.
- Remove the fan's connector from the Wii.
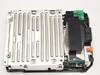
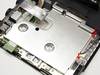
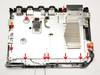
Step 11 Removing the Heat Sink Bracket
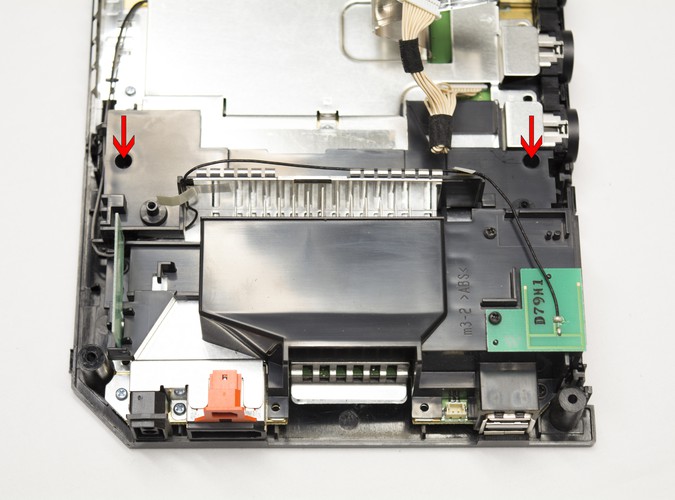
There's a large black plasitc bracket that covers the fins of the Wii's heatsink that we need to remove. The antenna for the Wii's WiFi module are also mounted on this bracket.
- Remove the 2 screws shown and lift away the first plastic bracket.
- Next, remove the following 3 screws in order to remove the remaining bracket. One screw is hidden underneath of one of the WiFi antennas, so to remove it bend the plastic tabs holding the PCB in place back and remove the board.
- Lift the bracket away once the screws are removed.
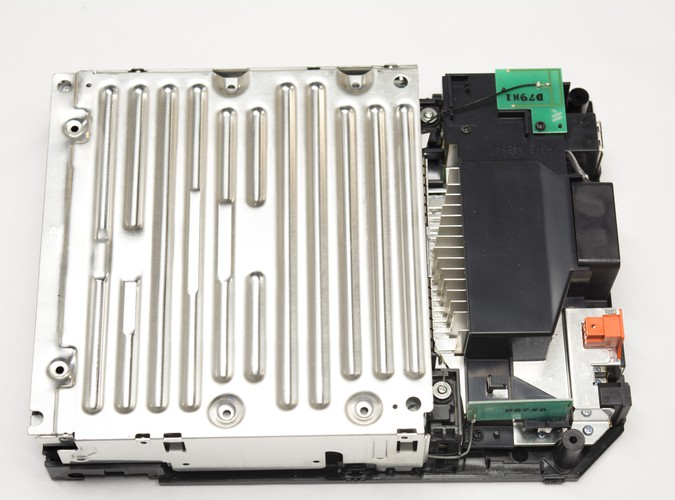
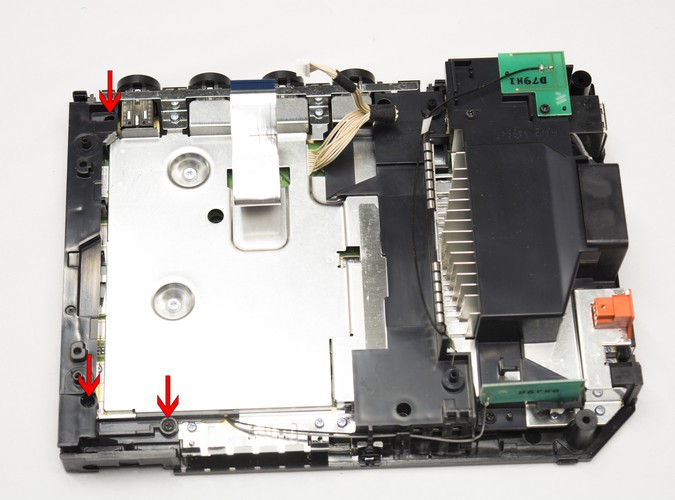
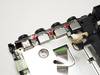
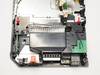
Step 12 Freeing the Motherboard
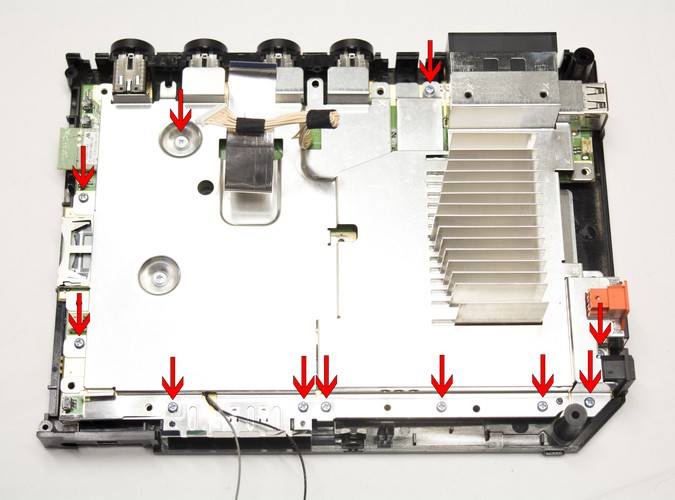
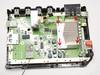
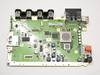
One shield and 4 screws are all that remain before the motherboard is fully removed from the housing.
- Remove all of the screws shown.
- Remove the shielding and remove the 4 screws from the heat sink.
- Remove the WiFi module and Bluetooth modules.
- The Wii is free! You're nearly ready to trim!