18. Final Steps and Testing
Written By: noah
- Difficulty
- Easy
- Estimated Completion Time
- 45 minutes
- Steps
- 4
Step 1 Attaching the Thermistor
Parts |
|---|
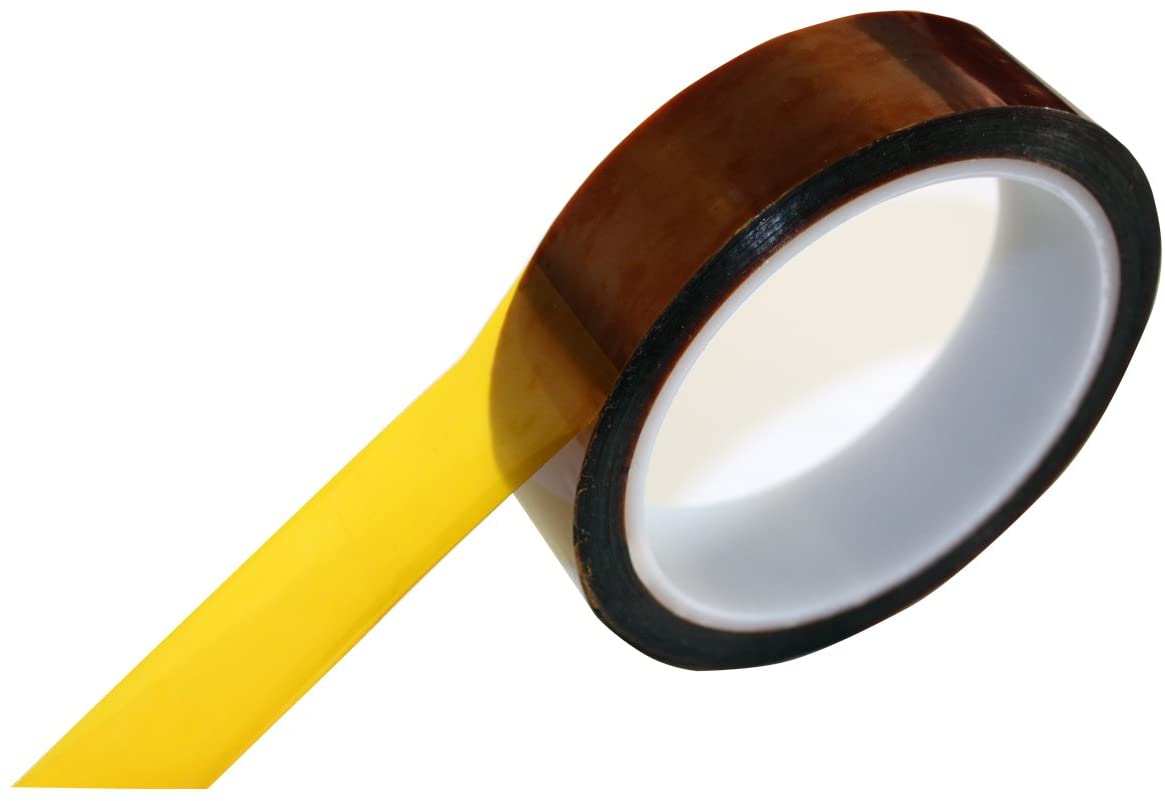 Kapton Tape (Polyimide)
|

Included in the parts bag labeled "RVL PMS" is a thermistor. This gets mounted on the Wii motherboard so that if G-Boy overheats due to being enclosed (ex. it's in a backpack and turns on because you forgot to put it in shipping mode) the RVL PMS will power the G-Boy down automatically once it reaches 70°C.
- If you have any batteries in your G-Boy, remove them before proceeding.
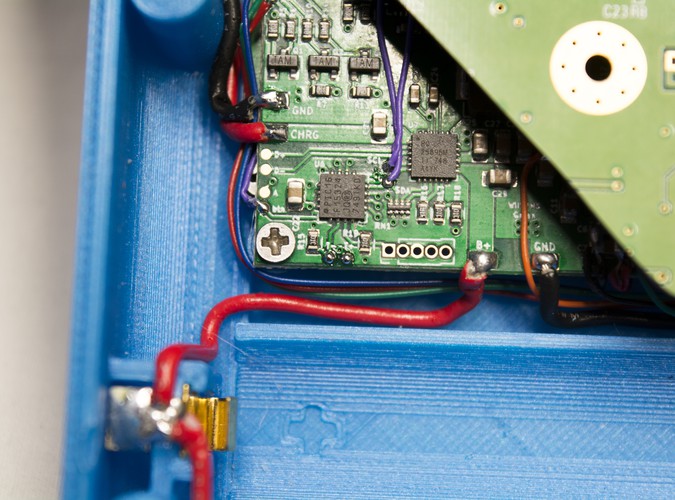
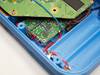
- Tin the T+ and T- pads as shown.
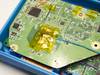
- Attach the thermistor between the CPU and GPU as shown. We've held it in place using a few pieces of kapton tape.
- Route the wire down to the T+/T- pads. If the exposed wire is excessively long on the thermistor, trim them a bit.
- Solder the thermistor wires to the T+ and T- pads. Polarity does not matter, so solder any wire to any pad.
Step 2 Final Tests
 Anker Powerline II USB-C to USB-C
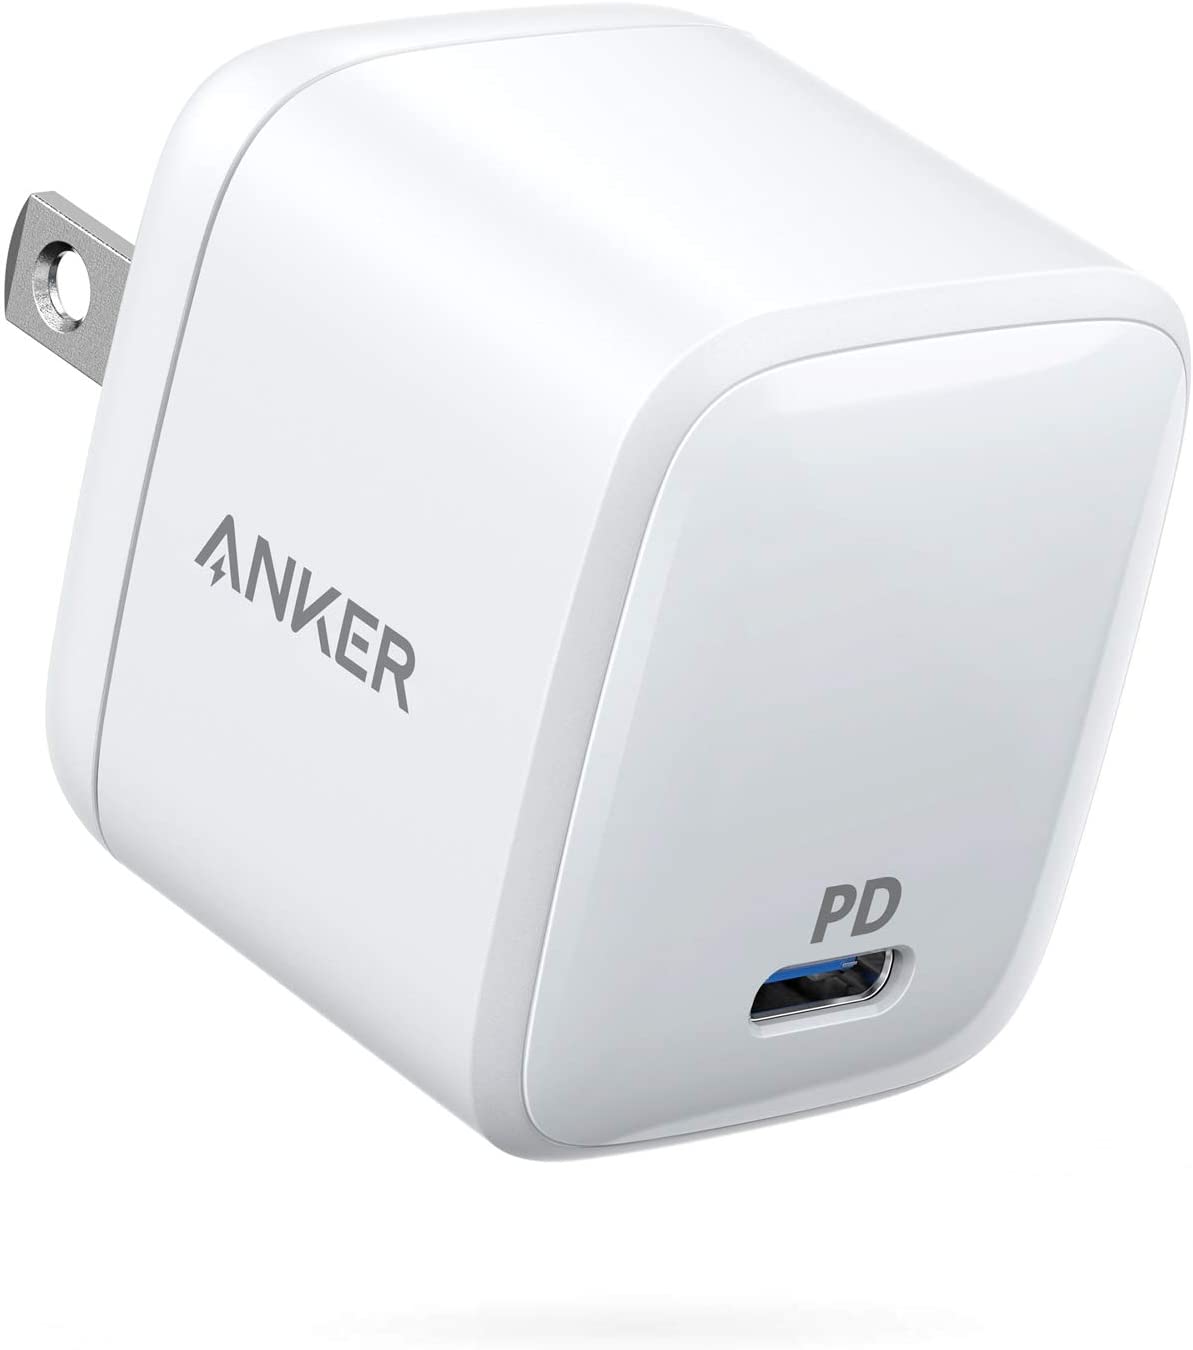 Anker 30W Ultra Compact Type-C Wall Charger
Boot up your G-Boy and ensure the following items work before you proceed to the next step:
- Audio
- Have the courage to test the headphone jack
- VGA Video
- If some of your white colors appear purple, turn down the green channel through the LCD's settings menu
- Every button; Boot into the GC+ 2.0 Configurator homebrew app and select "Buttons Test"
- If the face button pressed are unsatisfactory, return to the "Mounting the Controls" section for more information on how to improve their feel.
- Charging (see the "parts" section of the step for our recommended charger and cable)
- Accessing your microSD through the USB-C port (plug your G-Boy into a computer)
- If you relocated the Bluetooth module and/or MX chip, make sure those work as well.
Step 3 Screwing the G-Boy Closed
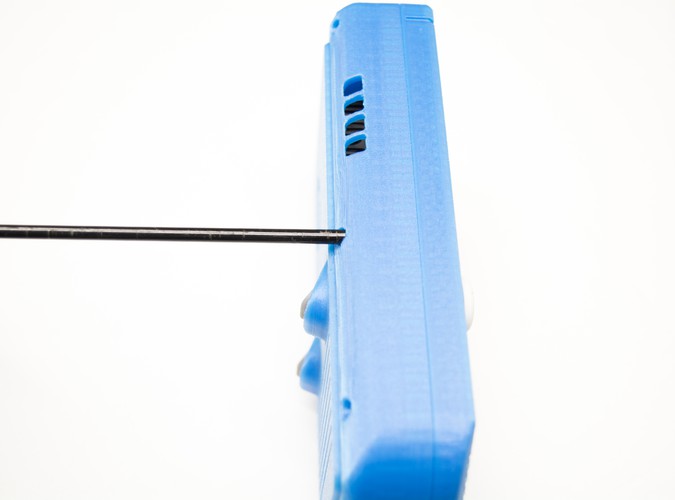
Take out 6 M2x6 screws from the bag labeled "Hardware".
- If you plan on relocating the Bluetooth module and/or MX chip, read those sections before completing these last couple of steps!
- Close the G-Boy and insert a screw into one of the screw holes on the back. Using a long phillips head screwdriver, hold the G-Boy closed and fasten the screw. You might need to add pressure for the first couple of rotations to ensure that the screw threads the screw post.
- Repeat this process for the remaining 5 screws
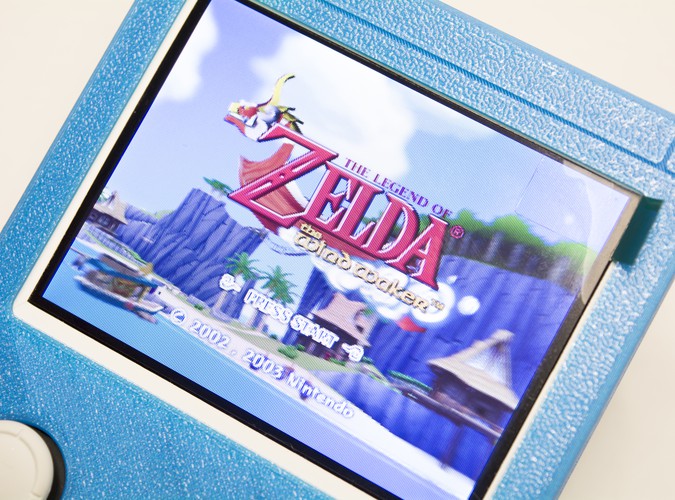
Step 4 Remove the Screen Protector


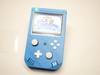
Once your G-Boy is screwed shut there's only one thing left to do - remove the screen protector and start playing some games!