3. Installing the Shoulder Button Assembly
Written By: noah
- Difficulty
- Very Easy
- Estimated Completion Time
- 10 minutes
- Steps
- 3
Step 1 Required Parts
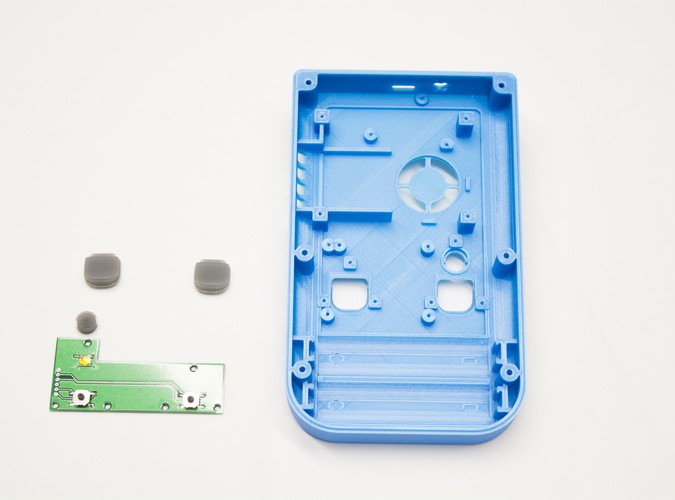
Here is a list of the parts required for the first step of the G-Boy build - installing the shoulder button assembly.
- L/R & Z buttons
- Shoulder button PCB
- G-Boy back housing
- 6x M2x4 screws from the Hardware bag
Step 2 Inserting the shoulder buttons
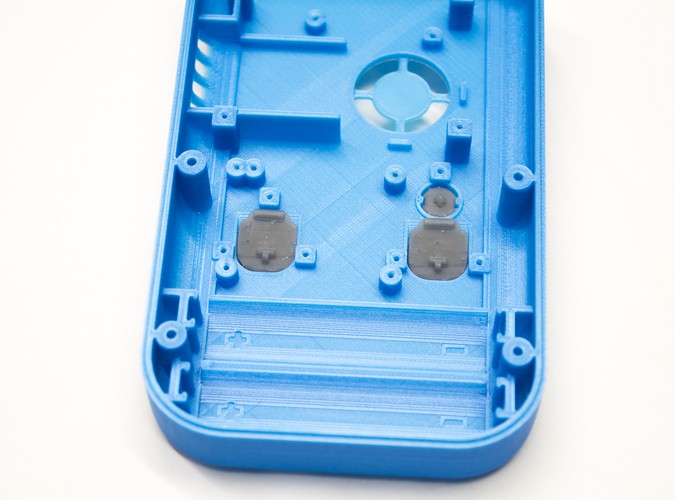
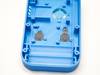
From the bag labeled "3D Printed Parts" take out both shoulder buttons along with the Z button. Make sure you've removed the G-Boy case from the protective bubble wrap sleeve, and then grab only the back half. We'll come back to the front half later, but for now it's best if you tuck it back into the bubble wrap sleeve and place it back in the box to avoid anything from happening to it. Also make sure to take the shoulder button PCB out from the bag labeled "Controller PCB"
Take 6 M2x4 screws from the bag labeled "Hardware" and place them aside. We'll need them to secure the shoulder button PCB in just a minute.
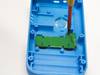
- Take each of the shoulder button PCBs and place them in the back of the case as shown.
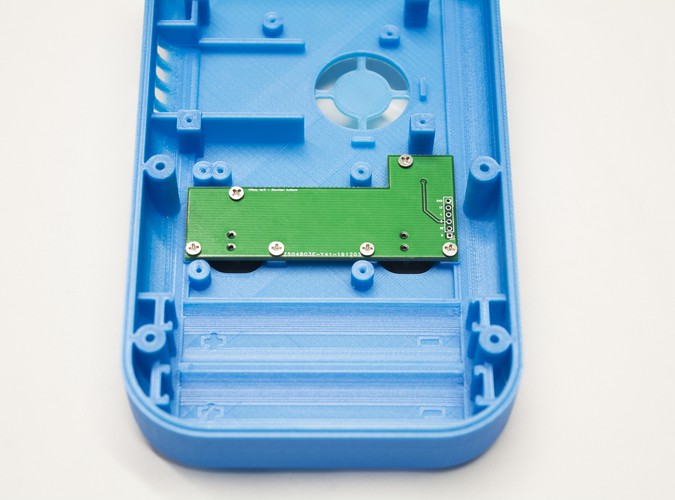
- Grab your shoulder button PCB and place it overtop of the shoulder buttons. Make note of the position of the screwposts, as you can use them and the corresponding mounting holes on the PCB to ensure that the board is correctly aligned.
- Once you're sure of the position of the PCB, take one M2x4 screw and using a bit of force for the first few rotations, drive the screw into the back housing. Be careful not to overtighten it, as the threads can be stripped on the housing.
- Repeat this step for all 5 remaining mounting holes until the PCB is secured by the 6 M2x4 screws we set aside earlier.
Step 3 G-Boy Rev 3 Shoulder Button Assembly Complete!
With all 6 screws inserted, the step is complete! Take a minute to admire your great work, and then go ahead and test your buttons out. If one of them gets stuck it's possible there's an overhang or something might need to be slightly cut in order to get everything feeling smooth.