4. Installing the USB-C PCB & Power Button
Written By: noah
- Difficulty
- Very Easy
- Estimated Completion Time
- 20 minutes
- Steps
- 2
Step 1 Inserting the power button
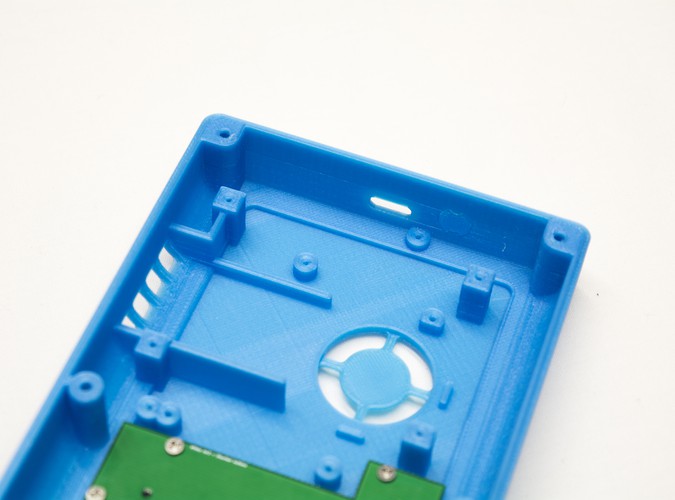
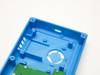
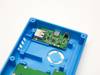
From the bag labeled "3D Printed Parts" grab the power button. Insert it into the back housing as shown in the image. Align the USB-C board as shown in the secondary image and give the button a press. Ensure that the click is satisfactory and that the button does not stick before proceeding as this will be difficult to adjust later.
Step 2 Securing the PD PCB
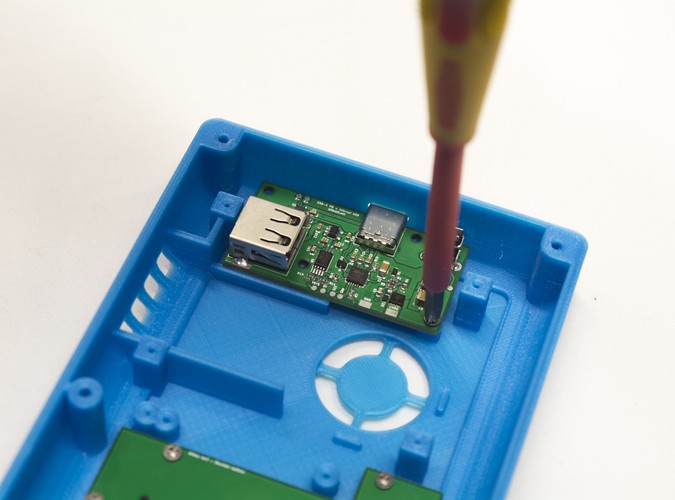
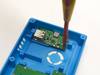
Once you're happy with the way the power button feels it's time to secure the USB-C PD PCB to the back housing.
- Grab 3 M2x4 screws from the parts bag labeled "Hardware" and secure them as displayed in the photo.
- Once the board is secured to the back housing the step is complete, and you're ready to mount the PCB into the back housing!