8. Mounting the LCD
Written By: noah
- Difficulty
- Very Easy
- Estimated Completion Time
- 5 minutes
- Steps
- 4
Step 1 Preparing the LCD

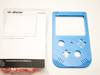

With the back half of the G-Boy wired up, we can set is aside as we'll be focusing on the front half of the assembly, starting with the LCD.
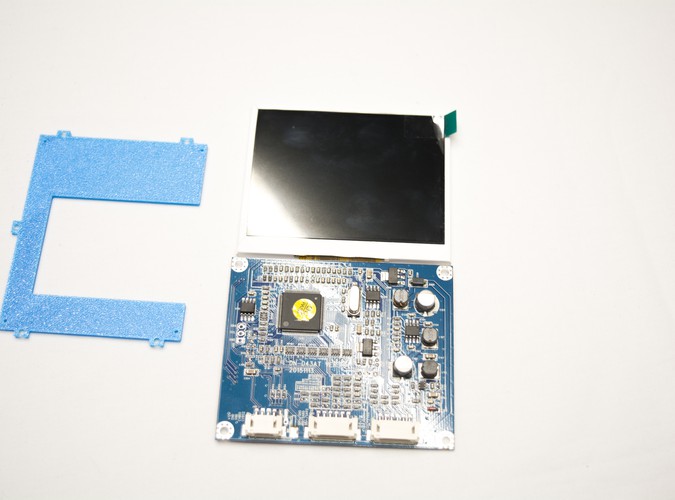
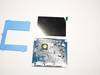
- From the Display bag, take out the entire LCD package. It contains the LCD attached to the driver board, along with a controller PCB for the screen and two cable sets. There is also two sets of LCD bezel decals. We will apply one to the LCD module in the next step.
- We'll only need the LCD & bezel decal of your choosing for now, so the rest can be set aside.
- Before we can proceed to the next step, we must remove a component from the driver board. Watch this quick video to see how to complete this process: G-Boy Inductor Removal Video Tutorial
- The images proceeding still have the inductor as we removed it in a later step. Please remove it now to avoid damaging your case later on during the assembly.
Step 2 Applying the Screen Bezel Decal
Watch this quick video to install the screen bezel. Be sure to choose your color wisely as getting back to the LCD once the G-Boy is assembled can be difficult!
Step 3 Mounting the LCD
From the parts bag labeled "3D Printed Parts" grab the LCD mounting bracket. Also, from the parts bag labeled "Hardware" grab 9 M2x4 screws.
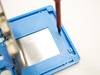
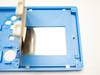
- First place the LCD down inside of the G-Boy front case. Be sure to stick the peel tab on the screen protector outside of the G-Boy case so it's easy to peel off after the assembly is complete.
- Grab the mounting bracket and place it as shown in the image. Make sure it's facing the right orientation. The textured side should be facing the LCD. Be mindful of the flex cable attaching the LCD to the driver board.
- Using your M2x4 screws, secure the bracket to the screw posts.
- Once you have all 5 screws in place, lay the driver board back down.
Step 4 Mounting the Driver Board
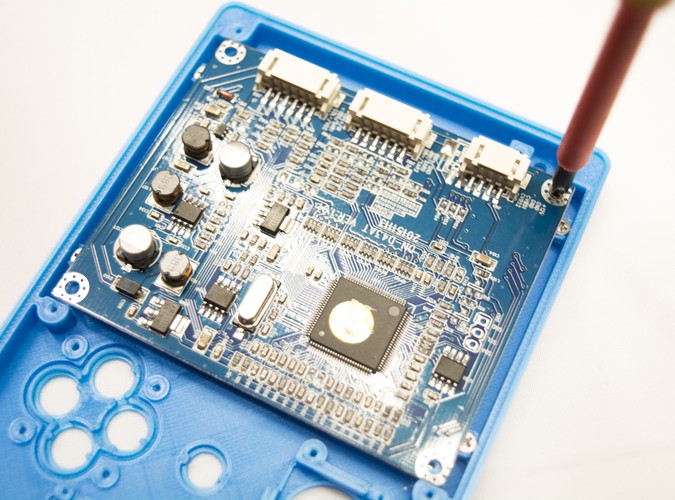
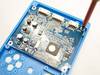
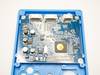
Notice there are 4 screw posts in the corners of the LCD mounting bracket. These screw posts are used to secure the LCD driver board to the bracket.
- Using your 4 remaining M2x4 screws, fasten the driver board to the bracket.
- Once the driver board is in place the section is complete!