5. Mounting the Power Hardware
Written By: noah
- Difficulty
- Moderate
- Estimated Completion Time
- 35 minutes
- Steps
- 4
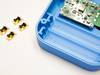
Step 1 Securing the PMS PCB
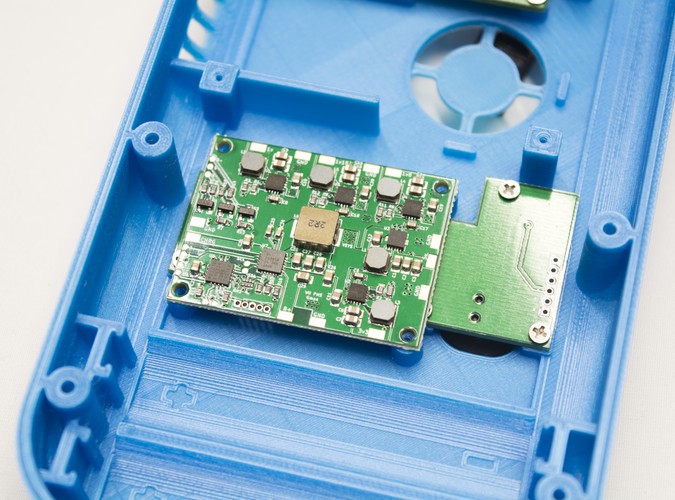
- From the parts bag labeled "RVL PMS" grab out the RVL PMS PCB.
- Next, from the bag labeled "Hardware", grab out 4 M2x4 screws.
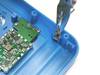
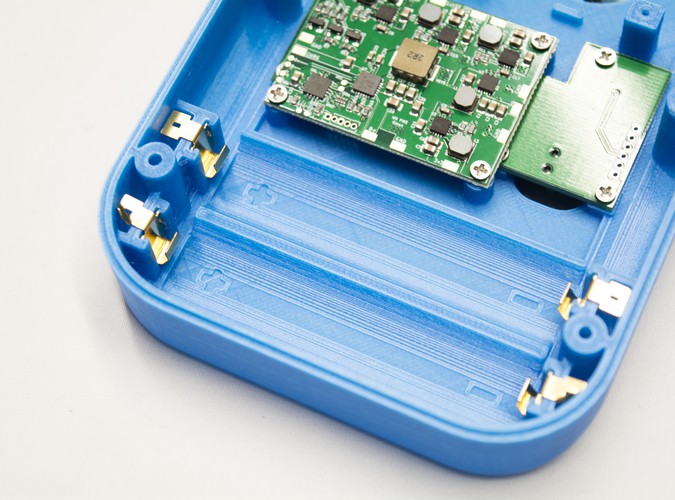
- Position the PMS PCB as shown in the provided image. Once you've ensured it's lined up correctly and the board is in the correct orientation, secure the PCB using the 4 M2x4 screws we grabbed earlier. It's important to not overthread the screws as the threads can break if too much force is applied.
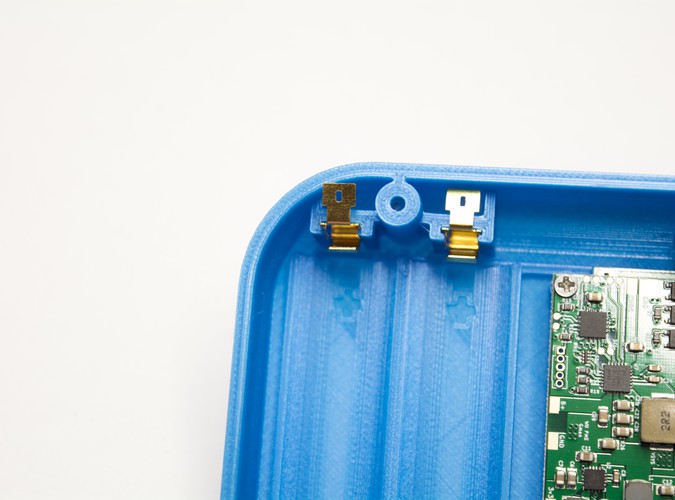
Step 2 Installing the Battery Clips
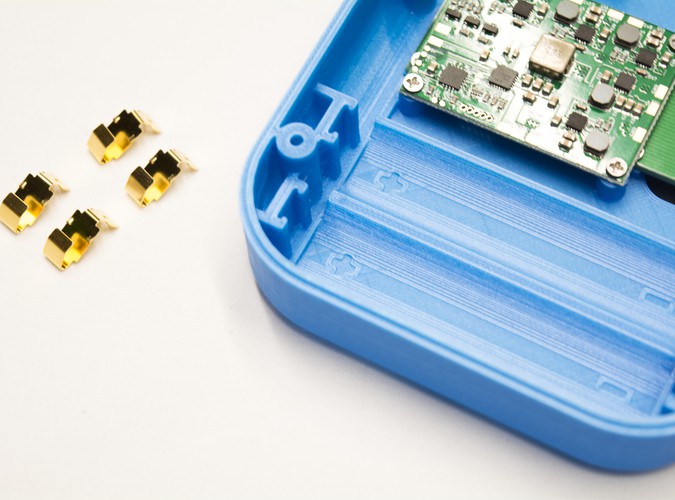

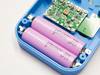
The battery clips, found in the parts bag labeled "RVL PMS" are used to hold the two 18650 lithium-ion battery cells that power the G-Boy in place. We'll need to install them in order to insert the batteries into the back housing in a later step.
- Once you've removed the four clips from the parts bag, insert the top two clips first as shown in the provided imagery.
- The clips should be fairly easy to insert, but if you're having some trouble try to grab them with a pair of pliers and push them into the back housing.
- It's important to note that if you try to insert the bottom two clips, you'll find that they don't fit correctly into the back housing without a small modification that's covered in the next step.
Step 3 Modifying the Bottom Clips for Installation
As previously mentioned, the bottom two battery clips do not fit without a small modification.
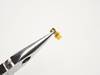
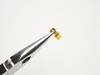
- To do this we'll be using pliers to bend the corner of the clip so that it no longer comes into contact with the back housing of the G-Boy. In order to modify the clip, we recommend using two pairs of pliers/snips.
- Grab the corner as displayed in the provided image, and using the other pair of pliers, bend the corner upwards, away from the rest of the clip.
Once you're done, go ahead and try to reinsert the clip.
Step 4 Step Complete!
If the clips both fit and don't hit the back housing, then great! You've completed this step! If not, you can bend the clips further if needed. The clips can also be cut with a rotary tool such as a Dremel, but in this instance it is not normally needed.