20. [OPTIONAL] Bluetooth Module Relocation
Written By: noah
- Difficulty
- Very Hard
- Estimated Completion Time
- 40 minutes
- Steps
- 3
Step 1 Mounting the Module

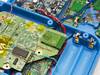
- Using a drop of hot glue on the Wii's NAND, mount the Bluetooth module as shown.
- Next, tin the pads shown in the image.
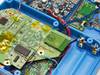
Step 2 Wiring the Module

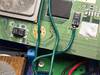
The Wii's Bluetooth module needs power (3.3V) GND and 2 data lines to function correctly after being relocated.
- 3.3V and GND can be soldered to the points shown on the Wii motherboard (red wire - 3.3V black wire - GND)
- 3.3V must be connected between 3 different points on the module as shown.
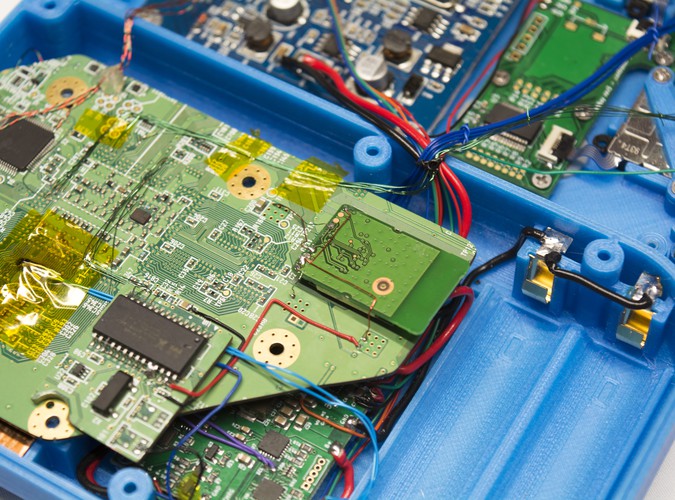
- The two data lines are on the front of the Wii motherboard and are extremely small.
- You must scratch the soldermask off of the PCB to expose bare copper underneath in order to solder to the required points as shown in the image. To do this, we recommend using a craft knife or razor blade along with a magnifying glass or mircoscope if you have access to them.
- TIP: If you're having trouble soldering the two wires next to each other, you can scratch at a different point for each!
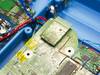
Step 3 Testing the Relocation
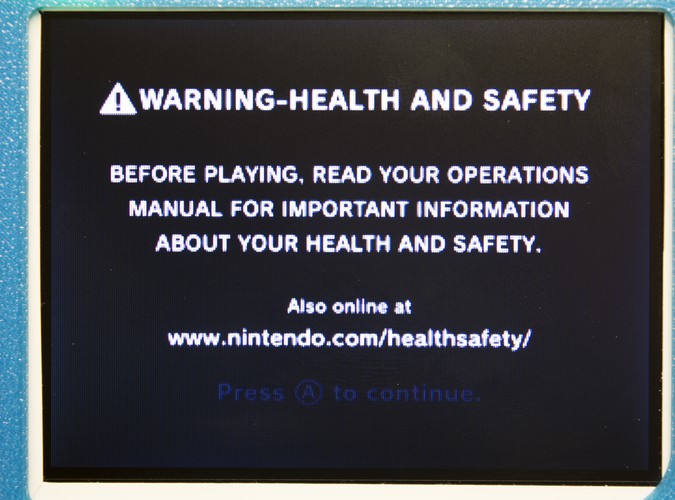

To test the relocation, all we have to do is try to boot into the Wii home menu. If you get a black screen then unfortunately your relocation was not successful. However if you get the screen pictured then you're all set and the relocation worked!