16. Wiring Audio
Written By: noah
- Difficulty
- Very Hard
- Estimated Completion Time
- 25 minutes
- Steps
- 3
Step 1 Preparation
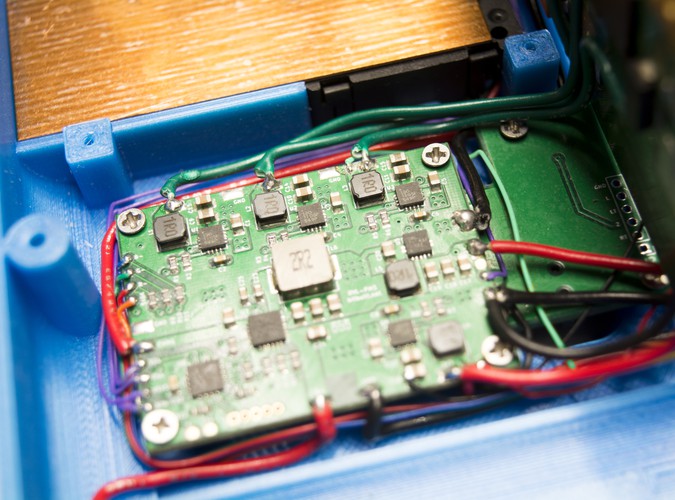
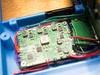
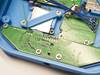

Wiring audio on your G-Boy is a difficult part of the assembly. You need to solder wires into 7 different vias on the Wii, some of them right next to each other. It's important to take your time and do this step carefully.
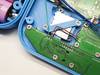
- Solder a 30AWG wire to the round pad next to the bigger 1.8V pad on the PMS and solder it to the 1.8V pad on the amplifier as shown.
- Tin the remaining pins on the amplifier PCB as shown.
- Also tin the 3.3V and GND pads shown in the image.
Step 2 Wiring Power
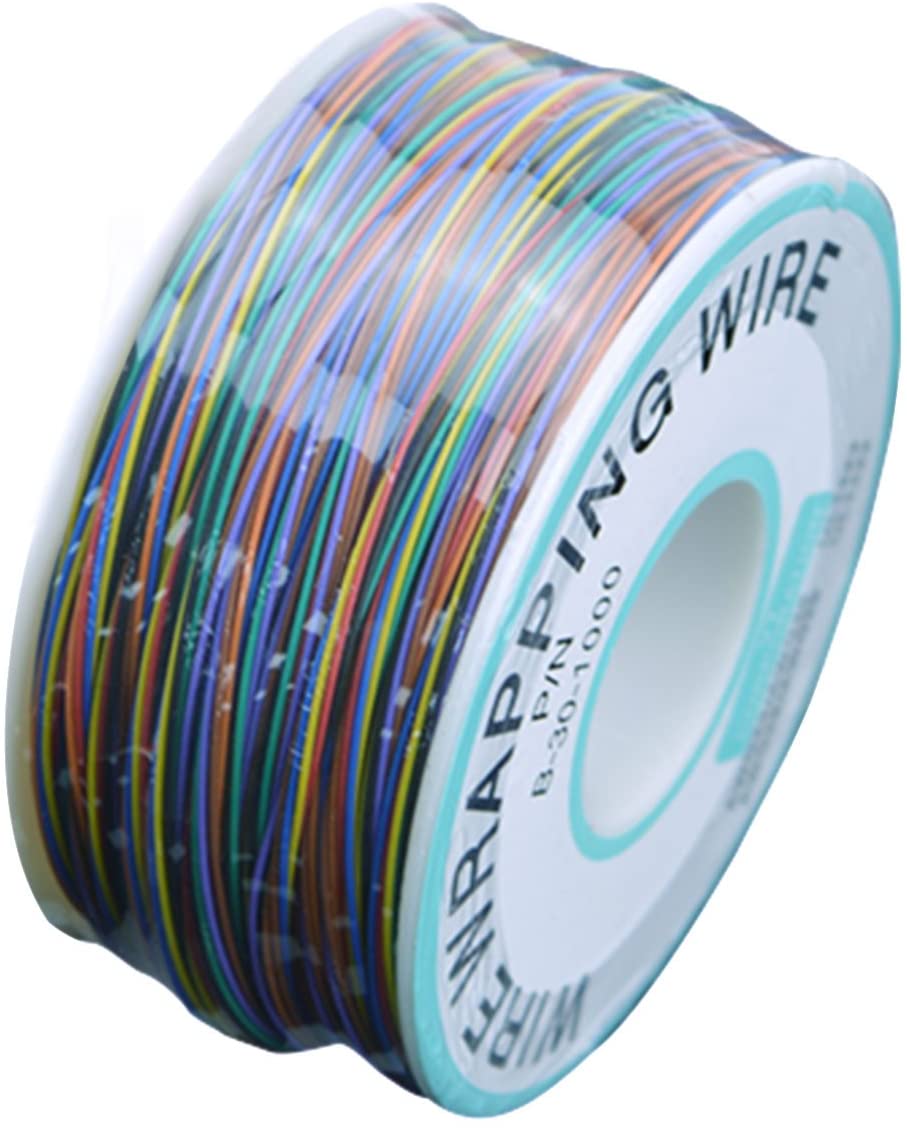 PVC Coated Tin Plated Copper Wire Wire-Wrapping 30AWG
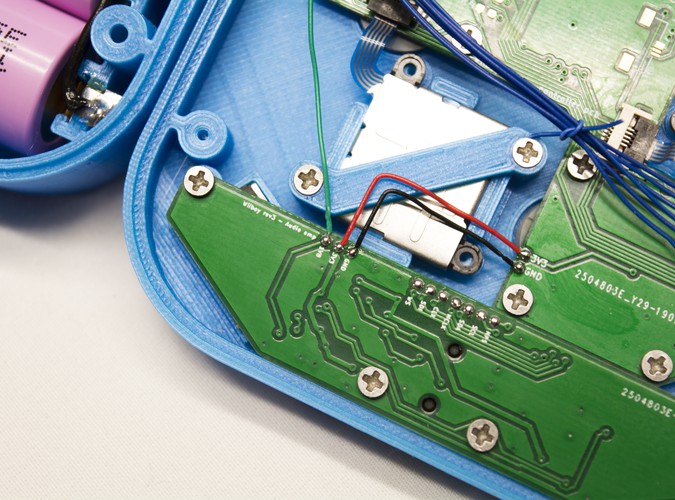
You'll need to solder the 3.3V and GND pins between these two boards in order to power the audio amplifier.
Step 3 Wiring the Audio Lines
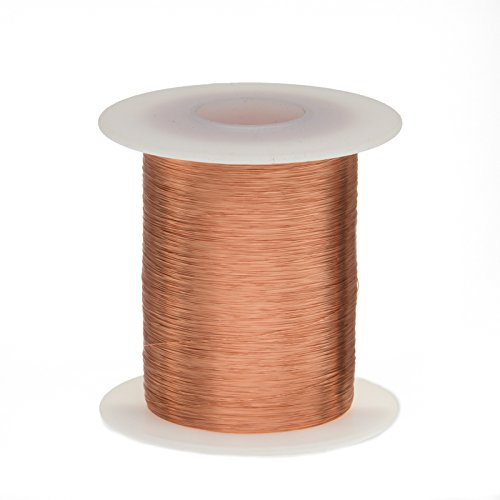 Remington Industries 34 AWG Magnet Wire, Enameled Copper Wire
 Kapton Tape (Polyimide)
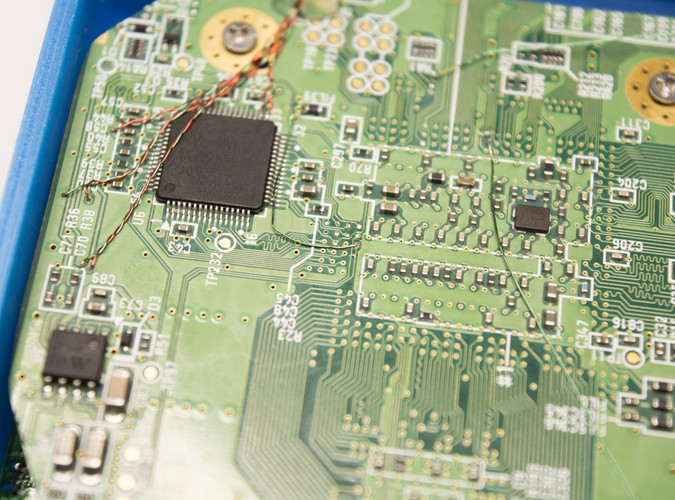
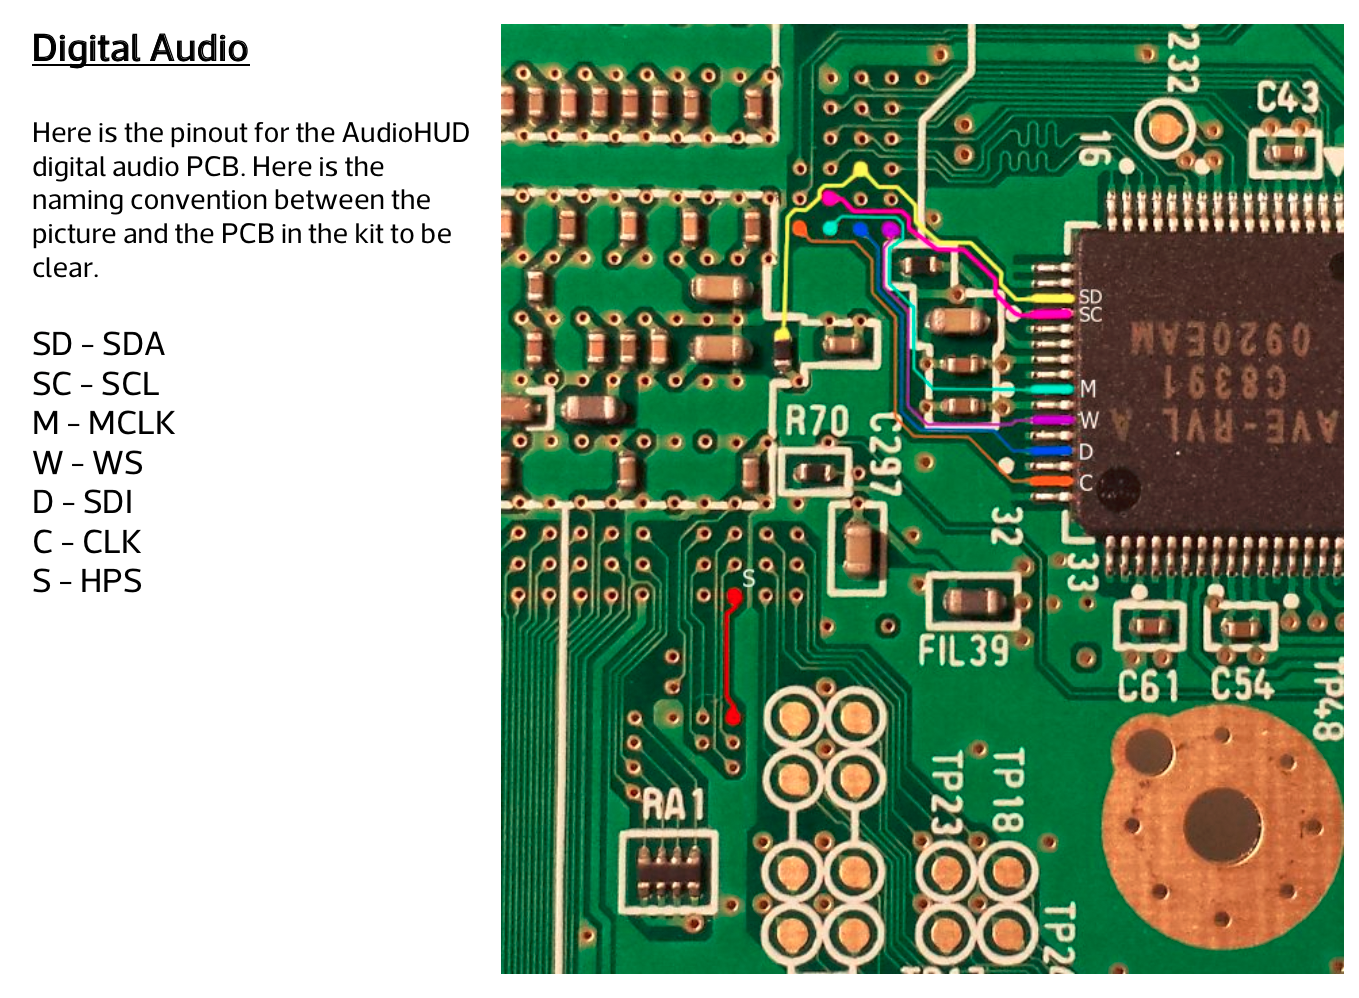
You'll need 7 long pieces of 34 AWG magnet wire for this step. The pinout HERE should also be followed for wiring the audio lines.
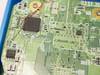
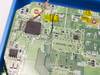
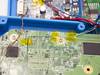
- Tin the vias as shown.
- Solder a piece of magnet wire to each of the vias you just tinned. Solder the other end of each wire to their respective pads on the amplifier board as per the pinout.
- After soldering a wire into each of the vias shown in the pinout, you can route them as shown in the accompanying images.
- We've used kapton tape to hold the wires down.
Once you've completed all of the wiring, you're ready to test if the amp is connected properly! After booting the G-Boy up, hold down the Z and Y buttons and press the D-pad up or down. If everything's connected properly, you should see a speaker icon and a volume indicator! Launch a game you're familiar with to check that you're getting sound!
Ensure to test changing the volume level as well as headphones at this point. If your audio turns to static while changing the volume or after a few minutes of gameplay you should replace your MCLK wire with one twisted in a pair. Solder one wire to MCLK and the other to GND, creating a shielded wire like we did for VGA.
